Variable Displacement with Auxiliary Package
You will need to place the spacers on the screws and go thru the balance plate and servo stem. Put these parts thru the opening in the side of the housing assy. and place the screws over the tapped holes in the rocker cam. Put the parts up next to the cam and tighten the screws one at time (tighten so far and go to the next one till they are tighten the same) to keep the assy in place.
Put the gasket on the control cover assy. Next put the cover assy over the dowel pins on the housing pad and mount the seals and screws til they are on there good.
If you have older model covers, they use an oring instead of a gasket.
Put grease of some sort on the oring grooves on the bottom side of the valve block. Put in the orings in the grooves and put the valve block on the mating area of the port block. So that the orings stay where they are suppose to. Screw it down, putting equal amounts of torque on the screws.
The input cover needs to be put in on the right hand side of the housing on the pump. Put n the output cover assy on the right hand side, but only on units that have an A suffix on them.
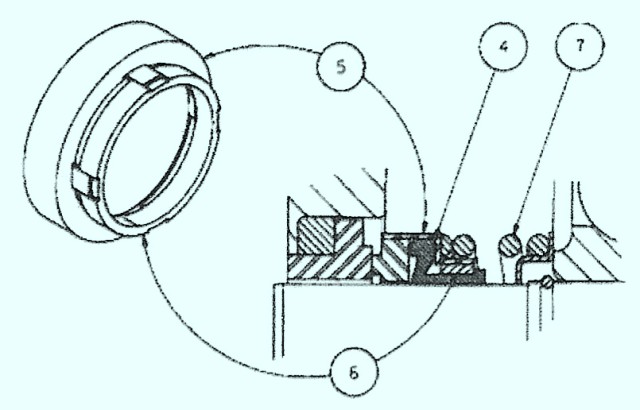
Also when you put in a new shaft seal (mechanical), make sure it goes together right. The rubber boot should grasp a hold of the shaft and slide onto the shaft and if not done correctly the spring can be disengaged from the shell. Put the shell and band on good and make sure it stays on together while you are assembling and disassembling it.
If you need more info on how to do this procedure correctly, call us at 662-871-8403 or 800-361-0068. We also can do this for you in our shop.